
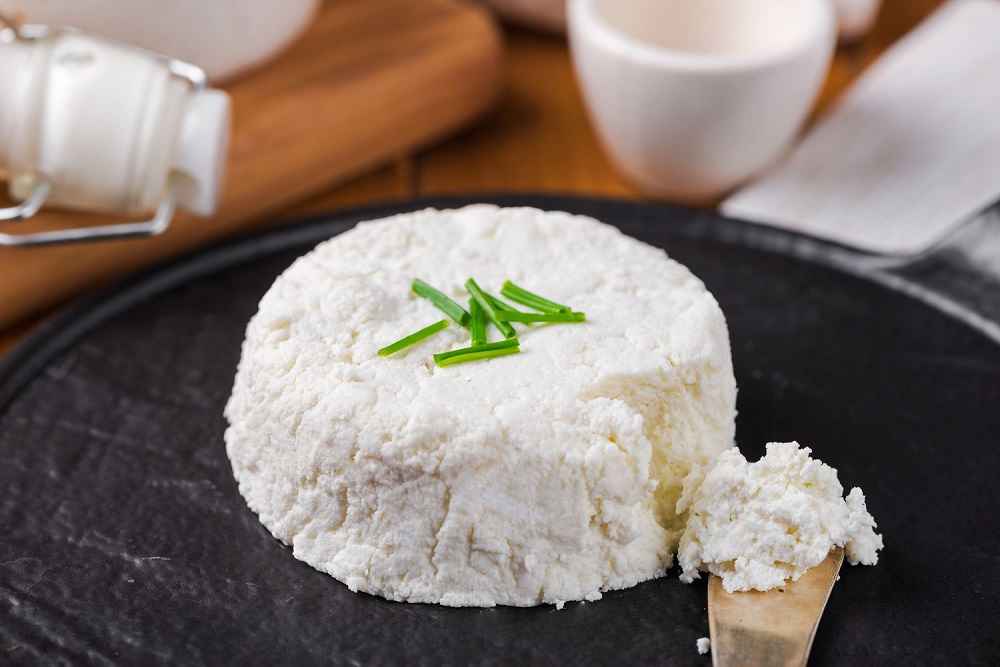
Goat cheese, also known as chèvre, is a versatile and delicious cheese that can be enjoyed in a variety of ways. It has a distinct tangy flavor and a creamy texture that makes it a favorite among cheese lovers.
Making your own goat cheese at home is a fun and rewarding experience, as it allows you to control the quality of the ingredients and customize the flavor to your liking. In this article, we will explore the process of making goat cheese with vinegar, which adds a tangy, acidic kick to the cheese.
Ingredients and Equipment
To make goat cheese with vinegar, you will need the following ingredients:
- 1 gallon of fresh goat milk
- 1 packet of mesophilic culture
- 1/4 tsp of liquid rennet
- Salt
- White wine or apple cider vinegar
In addition to the ingredients, you will also need the following equipment:
- A large pot for heating the milk
- A thermometer for monitoring the temperature of the milk
- A cheesecloth for draining the curds
- A mold for shaping the cheese
- A cheese press (optional)
When sourcing your ingredients, it is important to use high-quality milk from healthy, well-fed goats.
The culture and rennet can be purchased from a reputable cheese-making supply store. The vinegar can be white wine vinegar or apple cider vinegar, depending on your preference.
Step-by-Step Instructions
Preparing the milk:
In a large pot, heat the milk to 86°F. Once the milk has reached the desired temperature, add the culture and stir well. Cover the pot and let it sit at room temperature for 12-24 hours.
Adding the rennet:
Once the milk has coagulated, add the rennet and stir gently for 1 minute. Cover the pot and let it sit for another 30-40 minutes, or until the curd has set.
Draining and salting the curds:
Cut the curd into small pieces using a long knife. Drain the curds using a cheesecloth and press them to remove as much whey as possible. Once the curds have been drained, add salt to taste and mix well.
Shaping and aging the cheese:
Place the curds into a mold and press them for several hours to remove more whey and shape the cheese. Once the cheese has reached the desired shape, remove it from the mold and let it age for several days or weeks, depending on the desired flavor and texture.
Adding the vinegar:
Once the cheese has aged to your liking, add the vinegar and let it sit for several days to absorb the vinegar’s flavor.
Tips and Tricks
Here are a few tips and tricks to help you make the perfect goat cheese with vinegar:
Common Mistakes to Avoid:
One of the most common mistakes when making cheese is not heating the milk to the correct temperature. It’s essential to heat the milk to 86°F to ensure that the culture will activate correctly. Another mistake is not draining the curds for long enough. It’s crucial to press and drain the curds for several hours to remove as much whey as possible, which will help the cheese to achieve the desired texture.
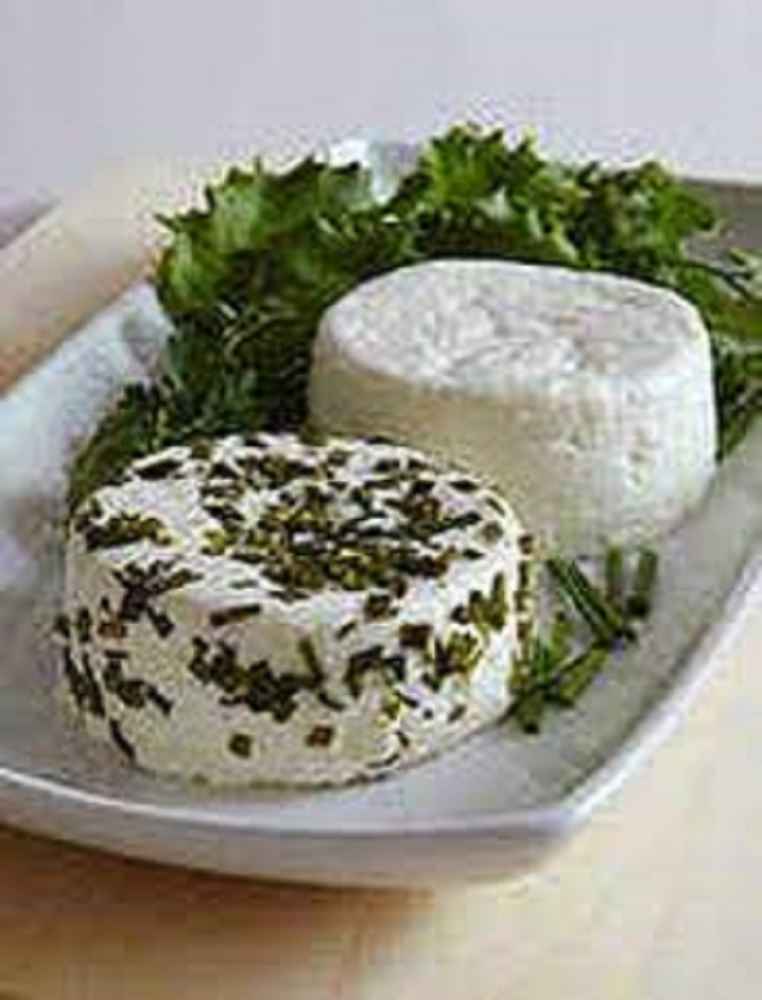
Variations and Flavor Additions:
Once you have mastered the basic recipe, you can experiment with different variations and flavor additions. For example, you can add herbs, spices, or even fruit to the cheese for a unique twist.
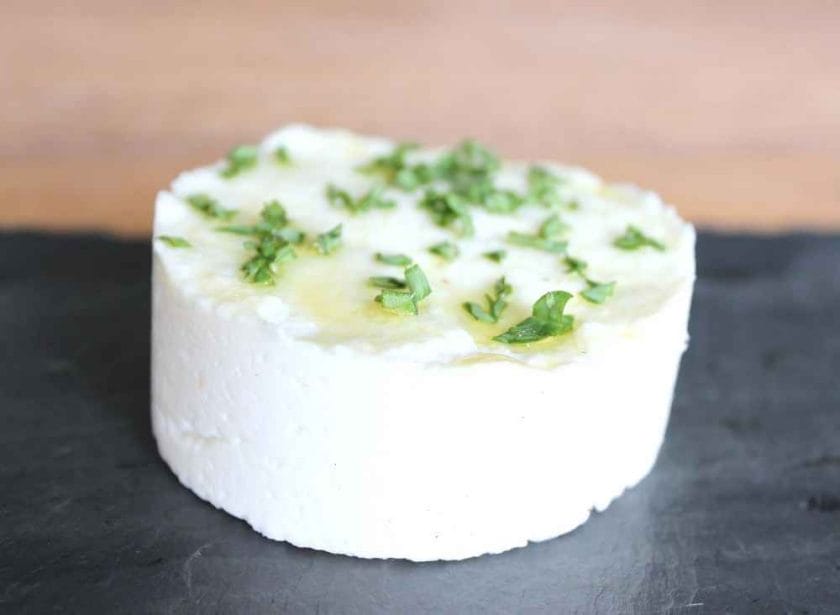
Storage and Serving Suggestions:
Once the cheese is aged and has had the vinegar added, it can be stored in the refrigerator for up to a month. When serving, it can be enjoyed as is, or used as a spread or topping on crackers, bread, or vegetables.
Conclusion
Making your own goat cheese with vinegar is a fun and rewarding experience that allows you to control the quality of the ingredients and customize the flavor to your liking. By following the step-by-step instructions and tips provided in this article, you can make a delicious and tangy cheese that is perfect for any occasion.
Keep in mind that making cheese can be a bit of an art, so don’t get discouraged if your first attempt isn’t perfect. With practice and patience, you’ll be able to make a cheese that you’ll be proud to serve to your friends and family.
How long does it take to make goat cheese with vinegar?
The process of making goat cheese with vinegar can take anywhere from a few days to several weeks, depending on the desired flavor and texture. The initial steps of heating the milk, adding the culture and rennet, and draining the curds can be completed within a day.
However, the cheese must then be shaped and aged for several days or weeks before the vinegar is added.
Can I use any type of vinegar to make goat cheese with vinegar?
In the recipe we’ve shared, you can use white wine vinegar or apple cider vinegar. However, you can experiment with other types of vinegar such as balsamic or red wine vinegar to see if they give the cheese a unique flavor.
Can I use pasteurized milk to make goat cheese with vinegar?
It is not recommended to use pasteurized milk when making cheese at home because the pasteurization process can kill off the beneficial bacteria needed to ferment the cheese. It’s best to use raw or unpasteurized milk for the best results.
Can I use a different type of mold for shaping the cheese?
You can use any type of mold that you have on hand. For example, you can use a cheese mold, a yogurt container, or even a small bowl.
The key is to ensure that the mold is the correct size for the amount of curd you are using and that it has drainage holes to allow the whey to drain away.
How long should I age the cheese before adding the vinegar?
The aging process can vary depending on the desired flavor and texture of the cheese. Typically, the cheese should be aged for at least a few days before adding the vinegar.
For a milder flavor, you can age the cheese for a week or two, while for a stronger flavor, you can age the cheese for several weeks. Keep in mind that the longer you age the cheese, the more flavor and texture will develop.
It’s important to keep an eye on the cheese during the aging process and to check for any signs of mold or spoilage.